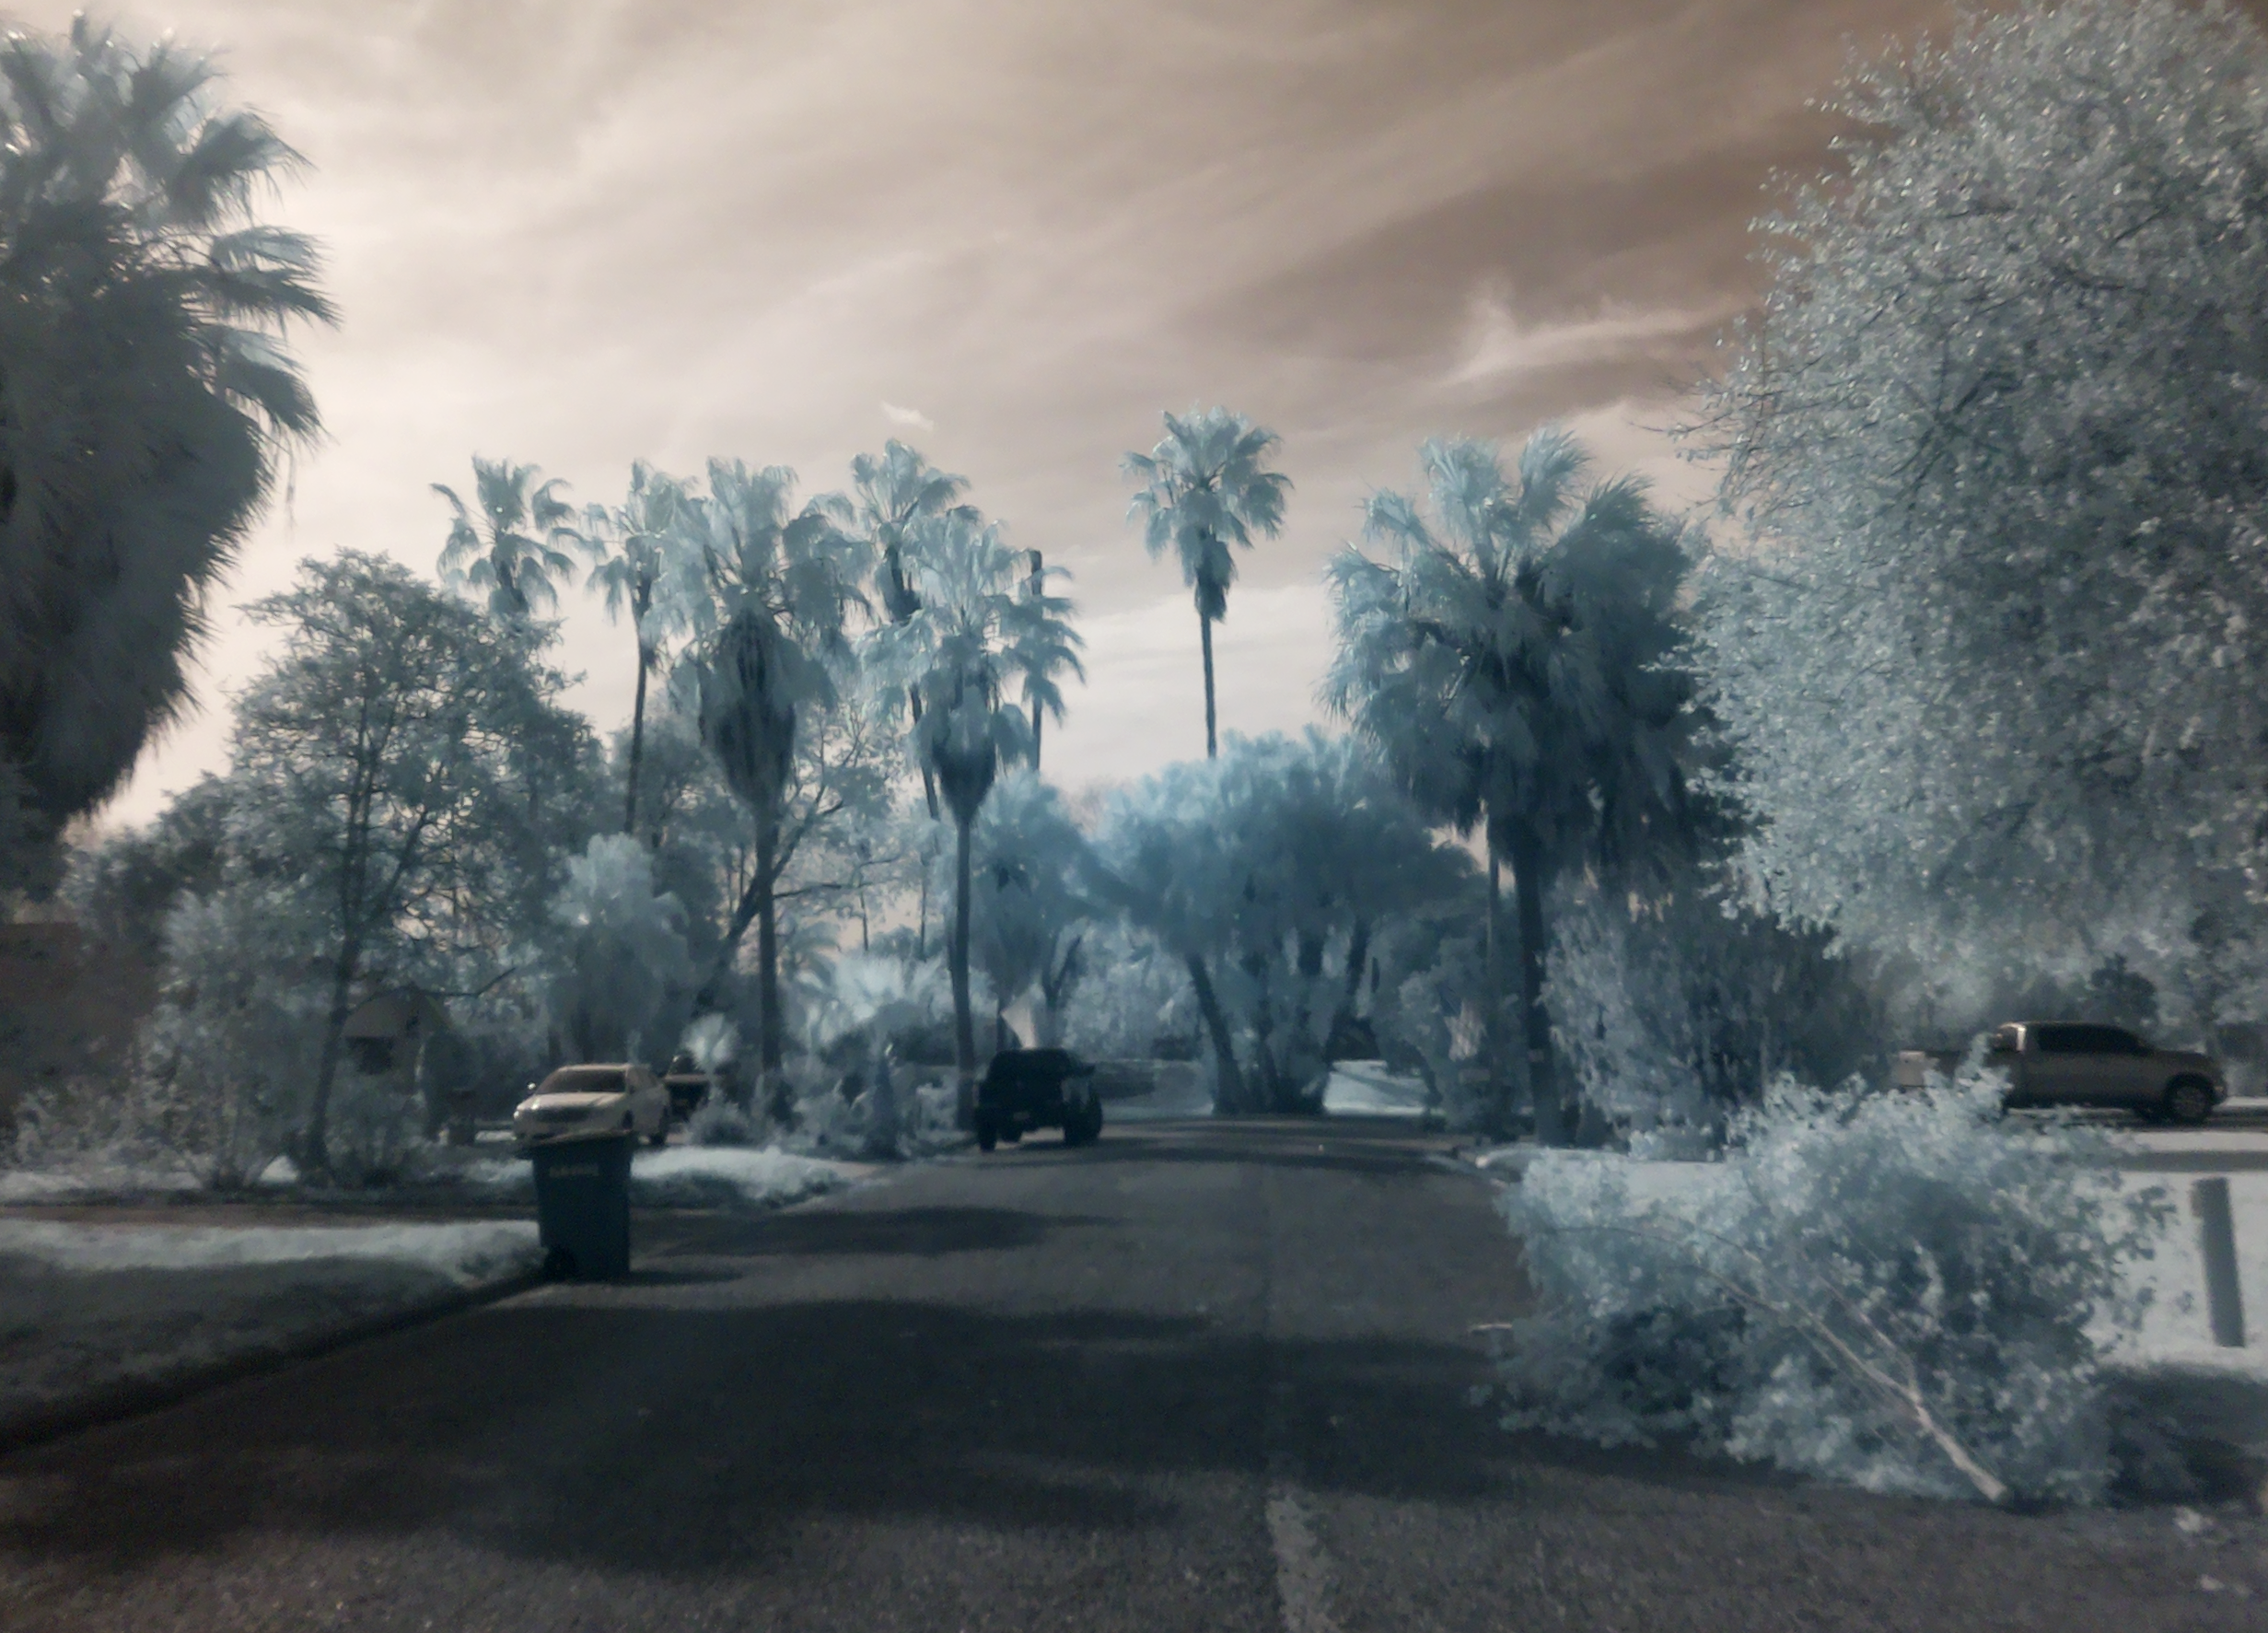
I recently built myself an infra-red camera for photographing outdoor scenes with trees and vegetation. It is built from a Raspberry Pi "NO IR" camera, with an extra filter added which blocks visible light, allowing only IR to pass: it works quite well,
producing pictures like this one:
By the way, the IR in IR photography is 'short wavelength IR' which is pretty much the same as visible light but just outside the range of human vision. This is not the same as 'long wavelength IR' which is thermal radiation – the sort of thing that heat-sensitive night vision imagers (such as FLIR cameras) can detect and turn into a false-coloured image. These imagers are generally very low resolution and expensive. Whereas short IR is cheap and already built in to the pickups in most digital cameras, where it is actually unwanted and has to be blocked out.
Anyway, what I'ld really like to do some day is take a regular photograph and do image processing on it to change the colour of the parts of the image where there is a strong IR component. This can be done by combining images from two cameras - the one I'm already using (the 'NO IR' Pi camera, which is just a regular Raspberry Pi camera with the filter which normally blocks out the IR component removed, to which I've added an IR 'pass' or 'notch' filter, which is a filter that allows IR light to pass through it, but which blocks visible light), and a regular Raspberry Pi camera (with the normal IR-blocking filter in place so that it produces a photograph with realistic colours.)
Unfortunately there's a problem in doing this – even if I place the two cameras side-by-side, there will always be a slight stereo separation between them, meaning that it will not be possible to exactly align the two images. The way we get around this problem, is to 'do it with mirrors' – by using a beam-splitter, which is a semi-silvered mirror – we can photograph the scene with two cameras exactly aligned like this:
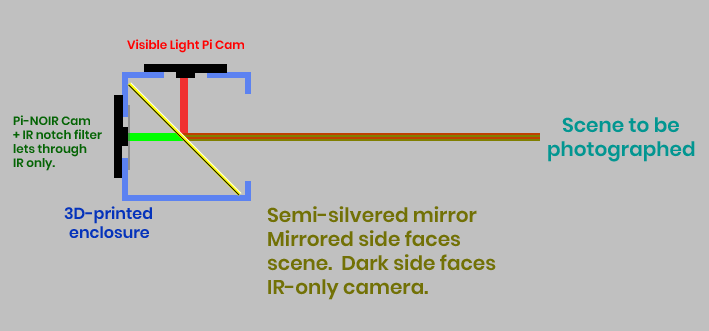
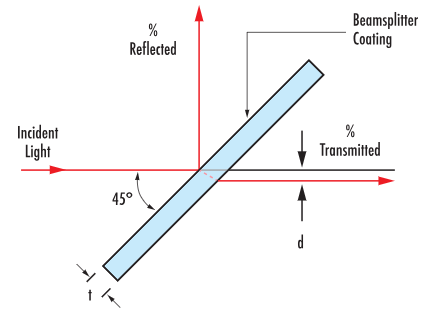
There are some minor glitches doing this – the visible light camera sees a second reflection from the far side of the semi-silvered mirror, and the path through the glass for the IR camera is slightly offset due to refraction, but these can be accomodated for sufficiently that they're not an issue:
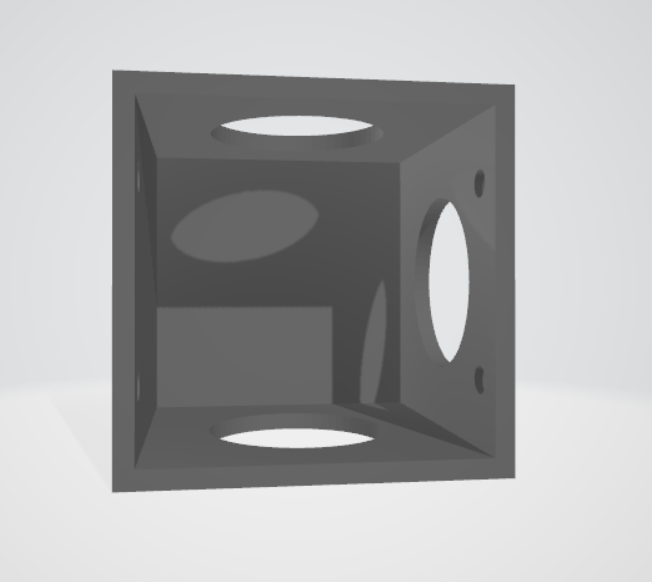
The mirror will be housed in a 3D printed enclosure made from black plastic to reduce internal reflections and scattering of light, and the Raspberry Pi cameras will be mounted to the sides of the enclosure. Some small adjustments of position (in two axes) will need to be made by inspection to ensure that the scale and alignment of both images is exact. The 3D printed enclosure will look a bit like this one which is from a microscope camera:
These two images were taken with the IR-only camera. The one on the left was looking through the semi-silvered mirror from behind. The one on the right was the reflection in the mirrored side:
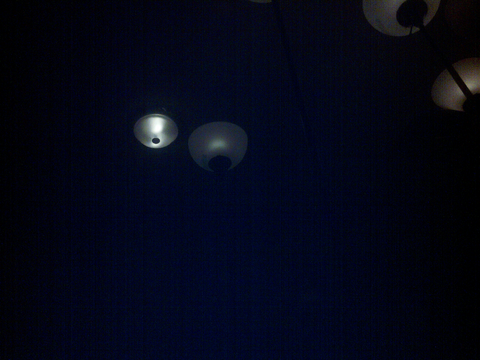
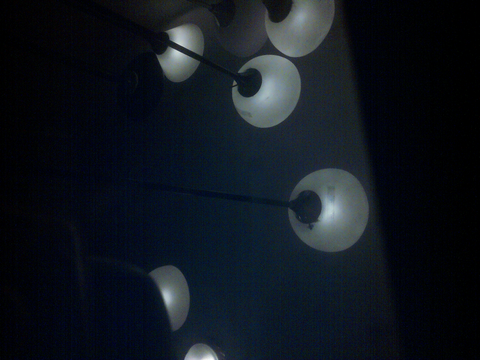
There are actually specific devices that do this very efficiently – they're called dichroic beam-splitters and they reflect almost 100% of visible light while transmitting almost 100% of the IR component. Unfortunately such devices cost hundreds if not thousands of dollars. So using a cheap semi-silvered mirror, with an IR pass/visible blocking filter on the IR camera and an IR blocking filter on the visible light camera is a very cheap but sufficiently functional substitute.
These four images were taken with the regular visible-light camera. In order they are:
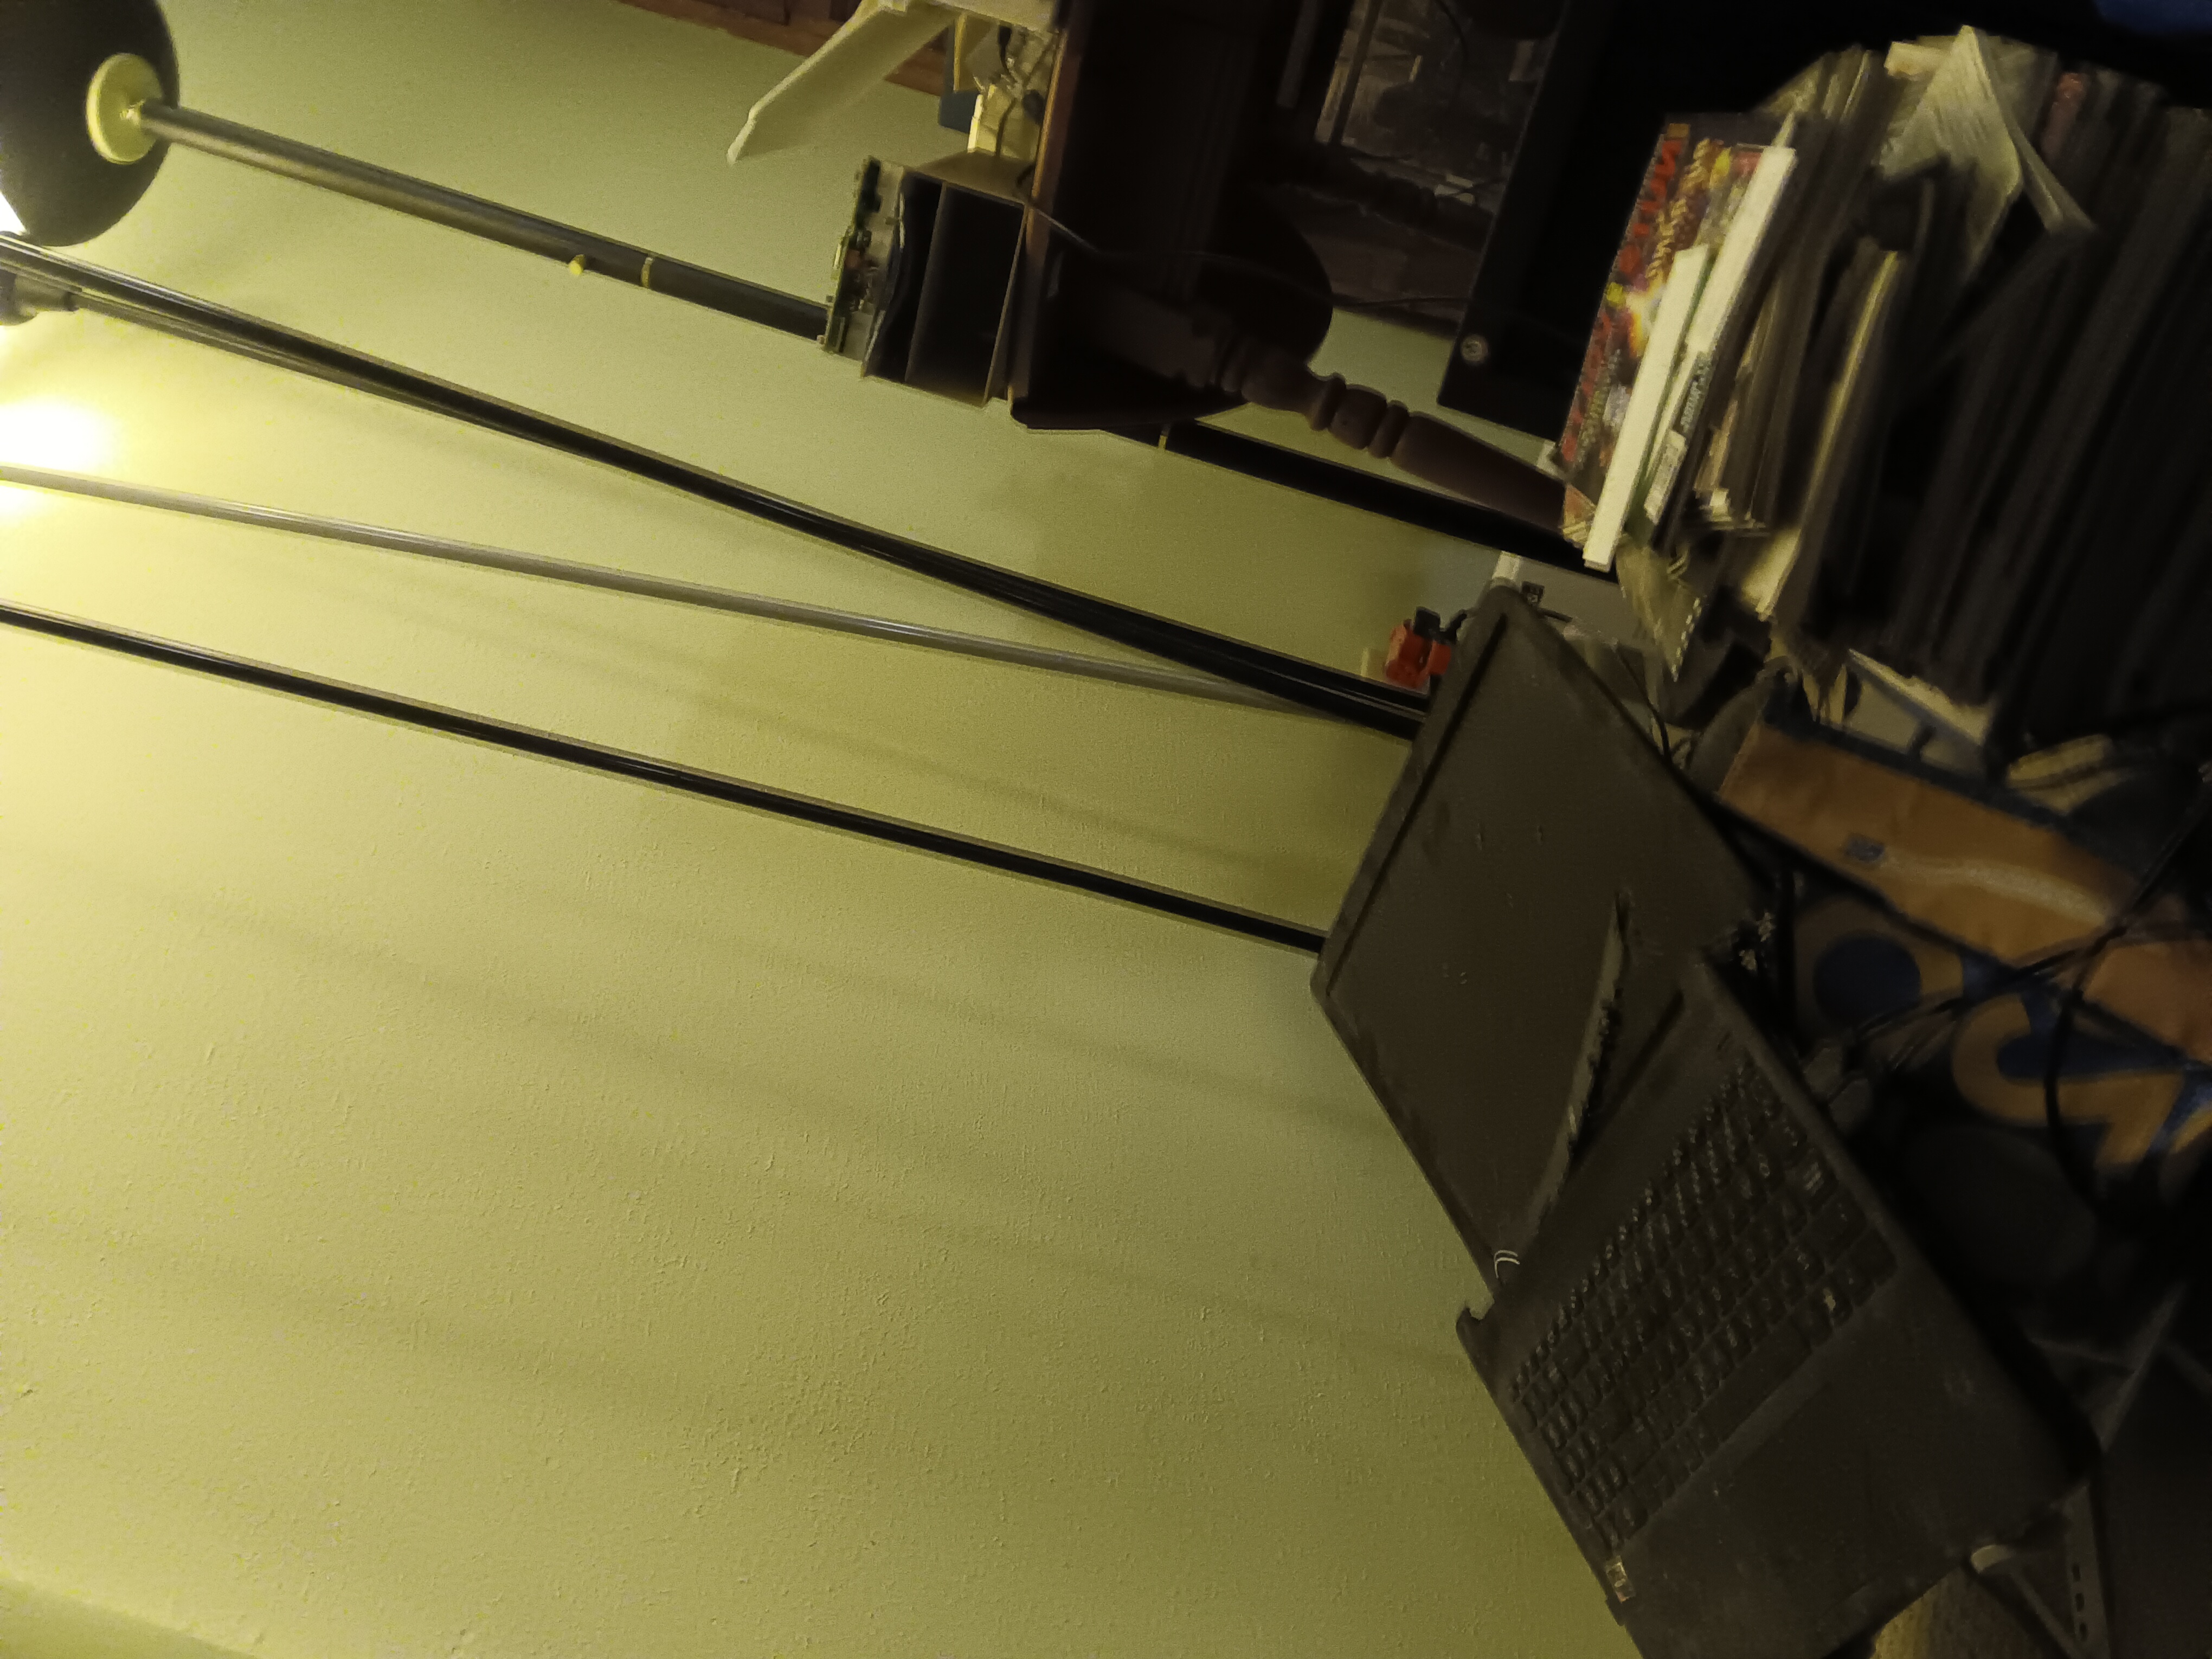
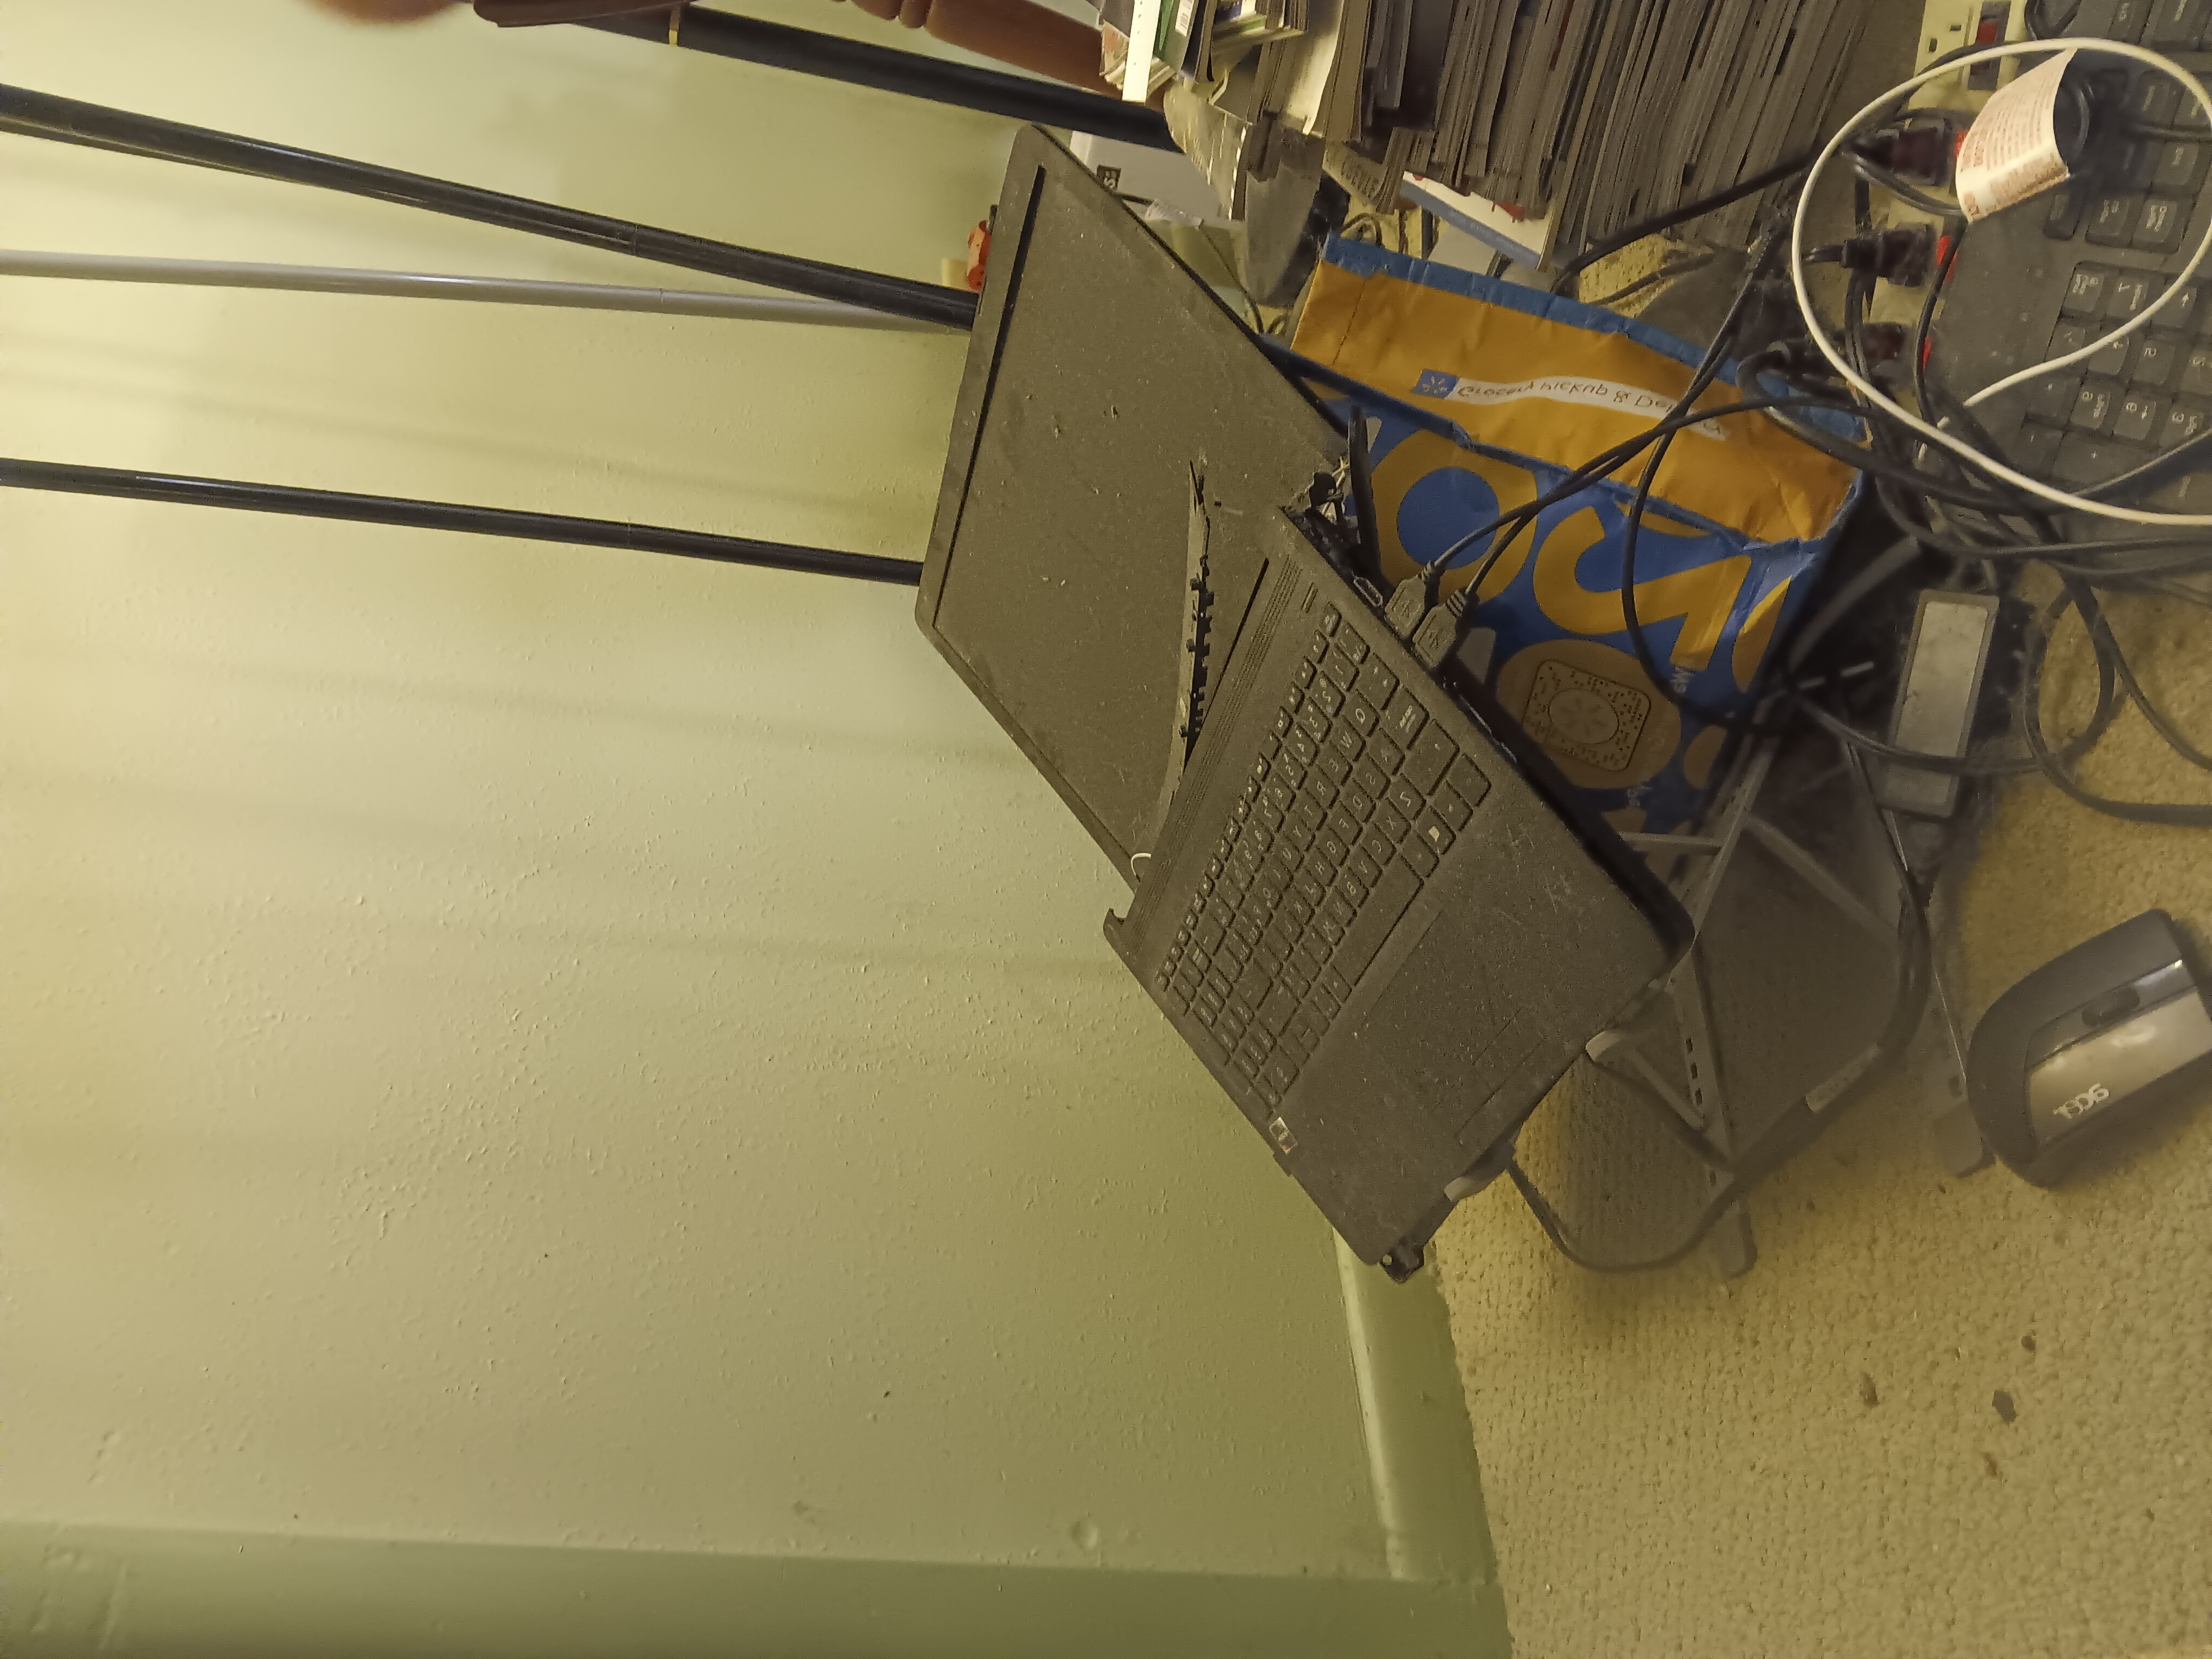
At this point I need to get in touch with a local glazier to have them cut my large sheet of Mirropane down into small pieces for use in these home-made beam-splitters. (The Mirropane semi-silvered glass was left over from an experimental stereo display I made using polarized LCD screens back in the late 90's).